It’s essential to have the correct RH technique in order to improve in your playing. First we must focus on the right hand and the proper technique associated with it.
Having proper technique will make playing much easier and allow you to play more challenging repertoire and exercises.
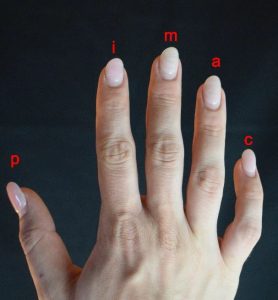
Fingers and Strings
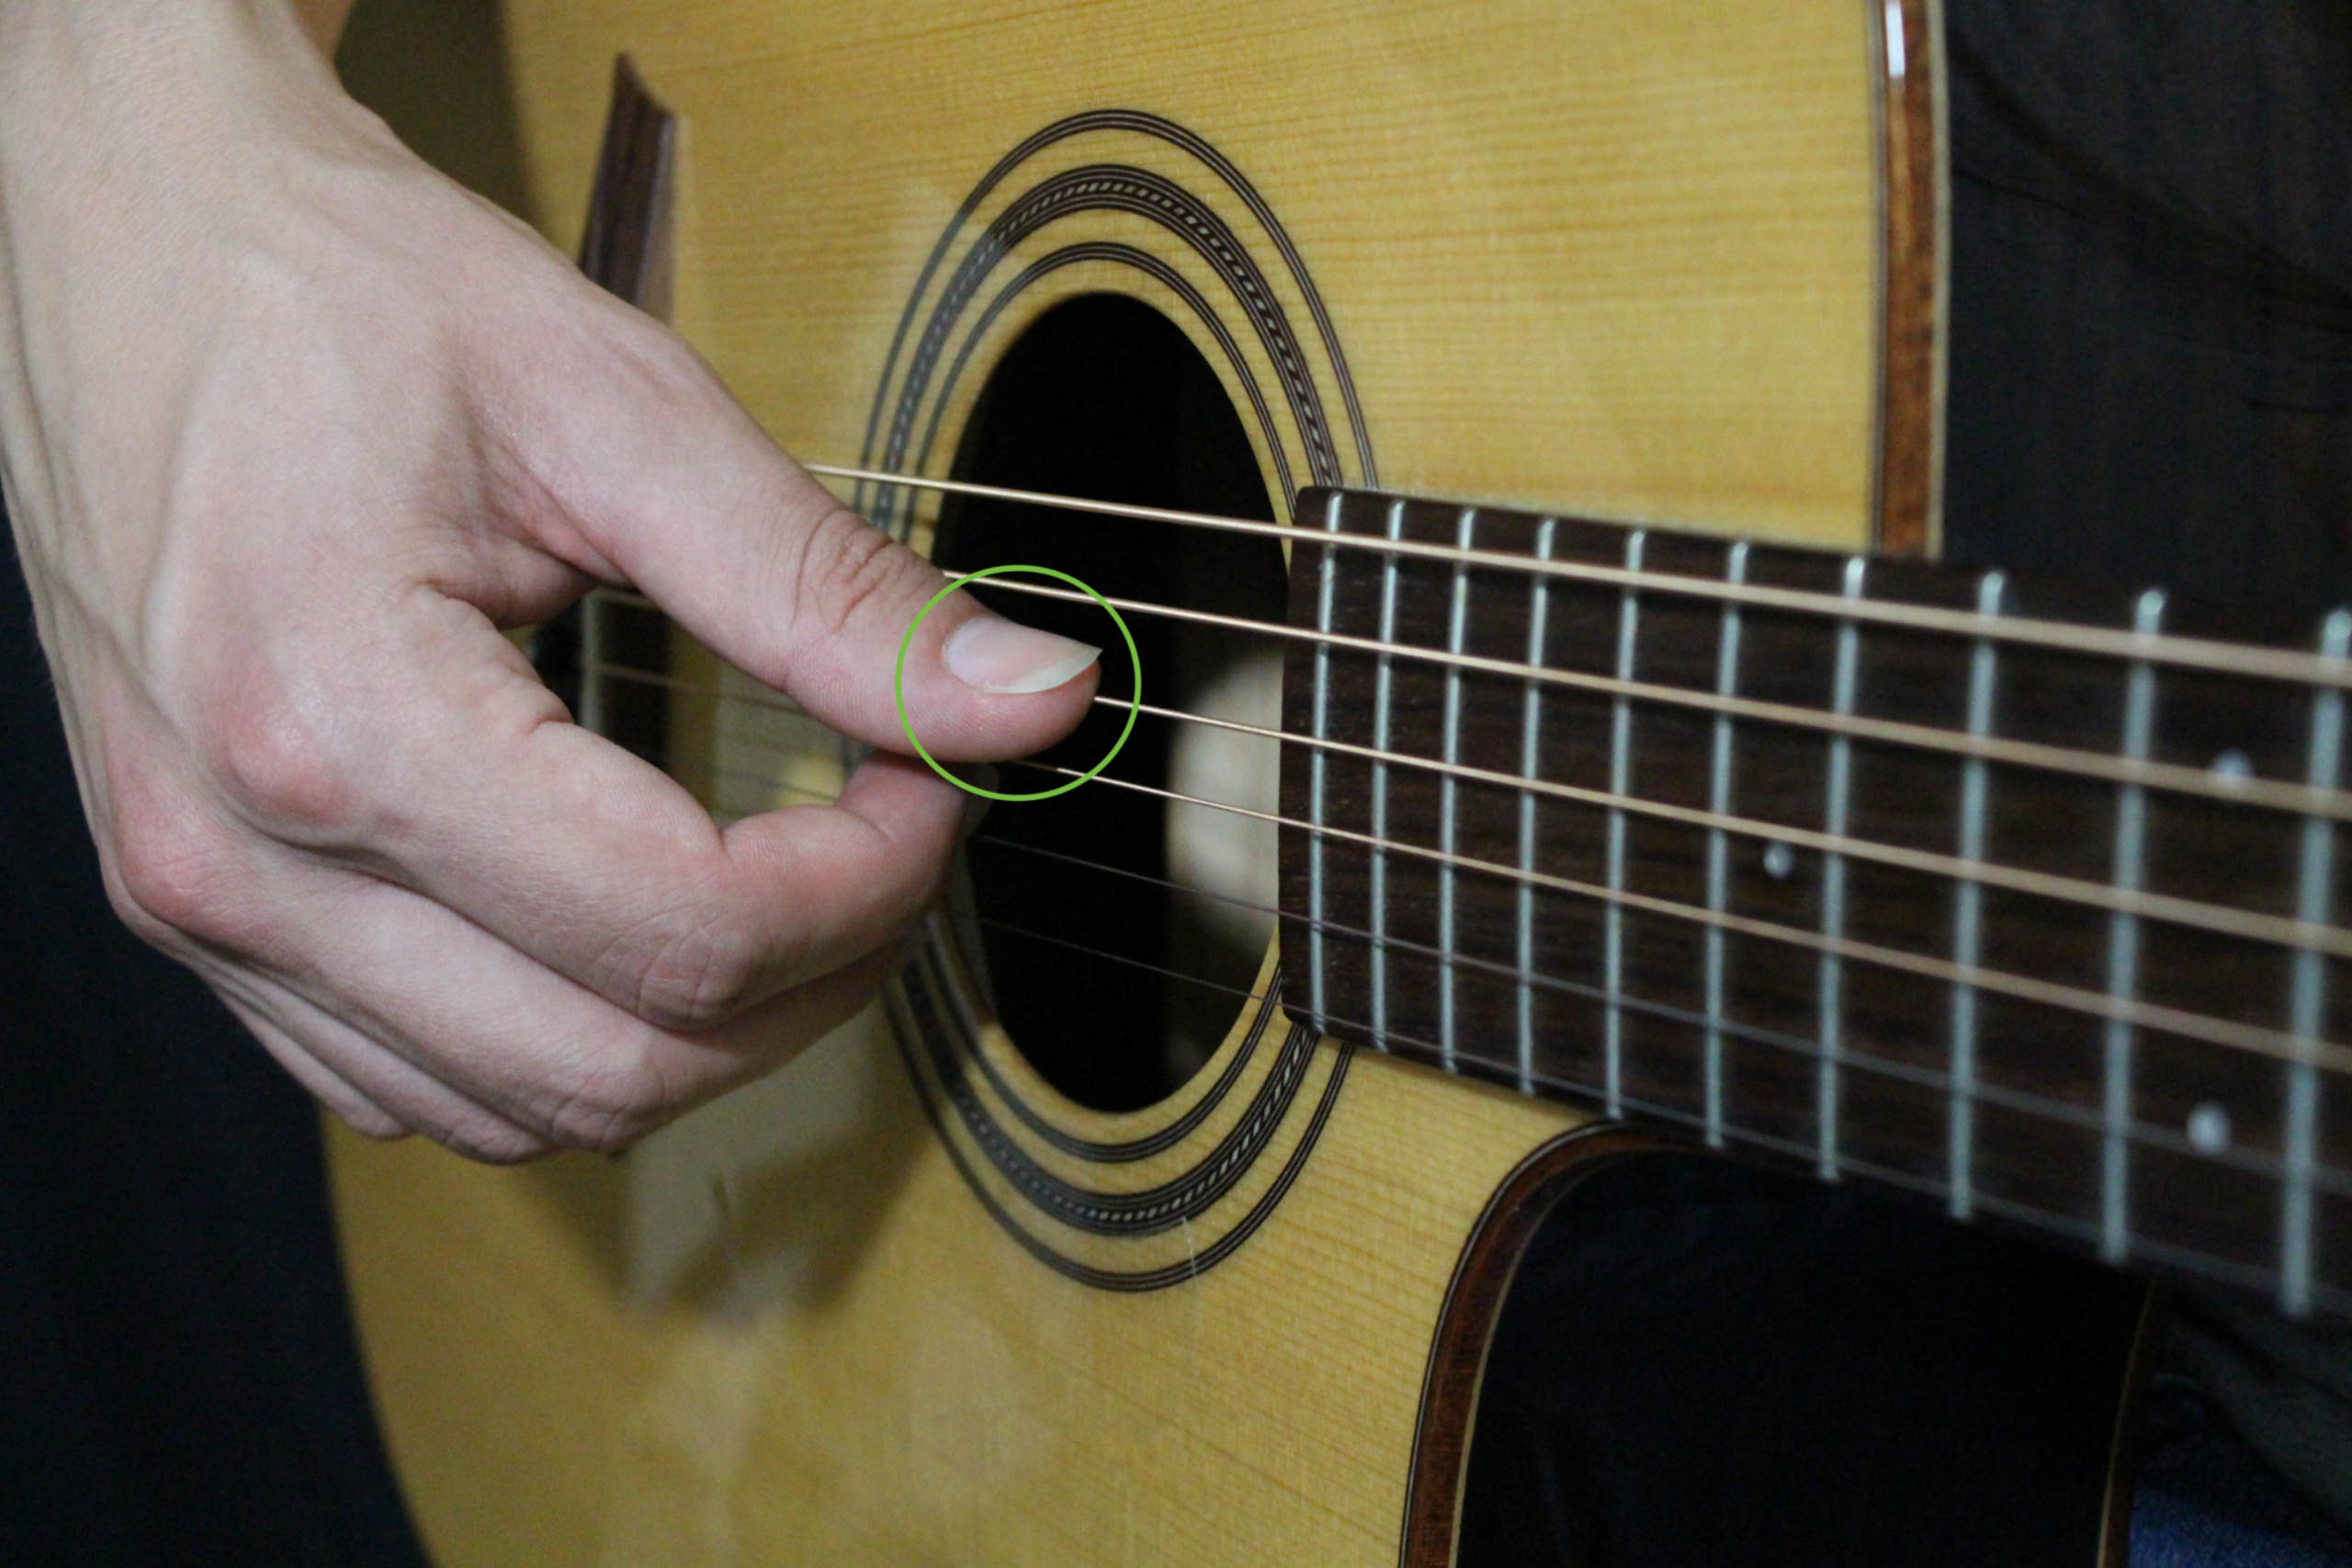
Thumb should be on the sixth, fifth, and fourth strings while the index middle ring will be on the third, second and first strings.
P = 6, 5, 4
I = 3
M = 2
A = 1
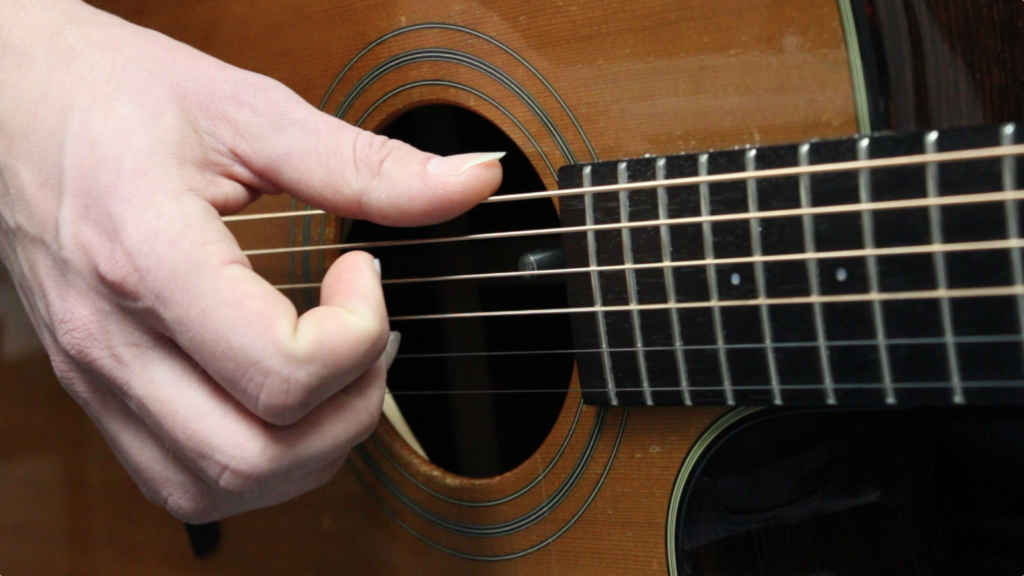
Right hand positioning
The right hand should be hovering over the sound hole in the middle. You can also place it back slightly as well for a different timbre. Make sure the right hand is relaxed while hanging over the strings.
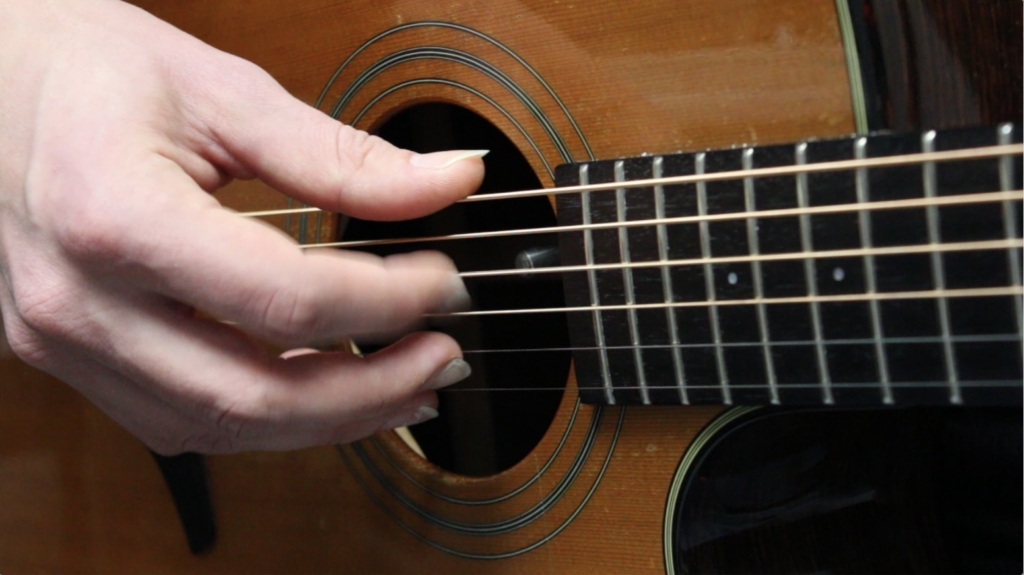
Attack motion
The attack should be a motion of the fingers coming in towards the palm. Prevent yourself from plucking up, or a clawing attack, which will cause the strings to be bright and thin.
Here is a video on beginner finger picking patterns I recommend:
Practice this with your own songs, or solely to work on your technique in order to improve your playing.
Learn more about technique through our FREE Fingerstyle Workbook!
FOLLOW US ON
Get our FREE Fingerstyle Workbook!

RELATED BLOG POSTS

Guitar Nut Replacement
The guitar nut is a small piece of material located at the top of the fretboard that holds the strings in place and helps guide the strings to their proper positions on the neck. Over time, the nut can become worn down or damaged, affecting the playability and tone of your guitar.
If you notice buzzing strings, tuning stability issues, or difficulty playing certain chords, it may be time to replace the guitar nut. To replace the nut, you will need to remove the old nut using a small chisel or nut file. Carefully remove any excess glue or debris from the nut slot before installing the new nut.
When choosing a new nut, make sure to select one that is the correct size and material for your guitar. Different materials, such as bone, plastic, or graphite, can affect the tone and sustain of your guitar. Once the new nut is in place, adjust the string height at the nut to ensure proper playability.
By replacing the guitar nut when needed, you can improve the overall playability and tone of your instrument.
Guitar Bridge Setup
Ensuring that your guitar bridge is set up correctly is essential for maintaining proper intonation and playability. The bridge of a guitar is the part that holds the strings in place and transfers the vibrations to the body of the guitar. A poorly set up bridge can result in buzzing strings, poor tuning stability, and overall poor sound quality.
To set up your guitar bridge properly, start by checking the bridge height. The bridge should be adjusted so that the strings are at the correct height above the fretboard. Typically, the bridge height is adjusted using small screws or a hex key. Make small adjustments until the strings are at the desired height.
Next, check the intonation of the guitar. Intonation refers to the accuracy of the pitch of each string as you play up and down the neck. To check intonation, play each string open and then play the same string fretted at the 12th fret. The pitches should match. If they do not, adjustments will need to be made to the bridge saddle position.
Finally, check the string spacing at the bridge. The strings should be evenly spaced across the bridge, with each string centered over its corresponding saddle. Adjust the spacing as needed to ensure proper playability.
By taking the time to set up your guitar bridge correctly, you can ensure that your instrument plays and sounds its best.
Guitar Neck Adjustment
Changing guitar strings is a routine maintenance task that every guitar player should know how to do. Whether you are a beginner or a seasoned player, knowing how to properly change your guitar strings can help keep your instrument in top condition and ensure that it continues to produce beautiful music.
To change your guitar strings, start by loosening and removing the old strings from the tuning pegs. Be sure to remove the strings one at a time to avoid damaging the neck or headstock of your guitar.
Next, clean the fretboard and the bridge of your guitar to remove any dirt or debris that may have accumulated. This will help prevent premature wear on your new strings.
Once the old strings are removed and the guitar is cleaned, it is time to install the new strings. Start by threading the strings through the bridge and winding them around the tuning pegs.
After the new strings are installed, tune the guitar to your desired pitch and stretch the strings by gently pulling on them. This will help the strings settle into place and stay in tune longer.
By following these tips for changing your guitar strings, you can keep your instrument in top condition and ensure that it continues to produce beautiful music for years to come.
0 Comments